This post contains affiliate links and/or links to my own products. I never recommend anything I don’t love or wouldn’t use myself.
Do you have luxury taste on shoestring budget? Or are you just looking to DIY some elements of your wedding stationery to reduce the costs? Look no further than this step by step guide to make your wedding invitations and save the dates look like a million bucks for a lot lot less than that.
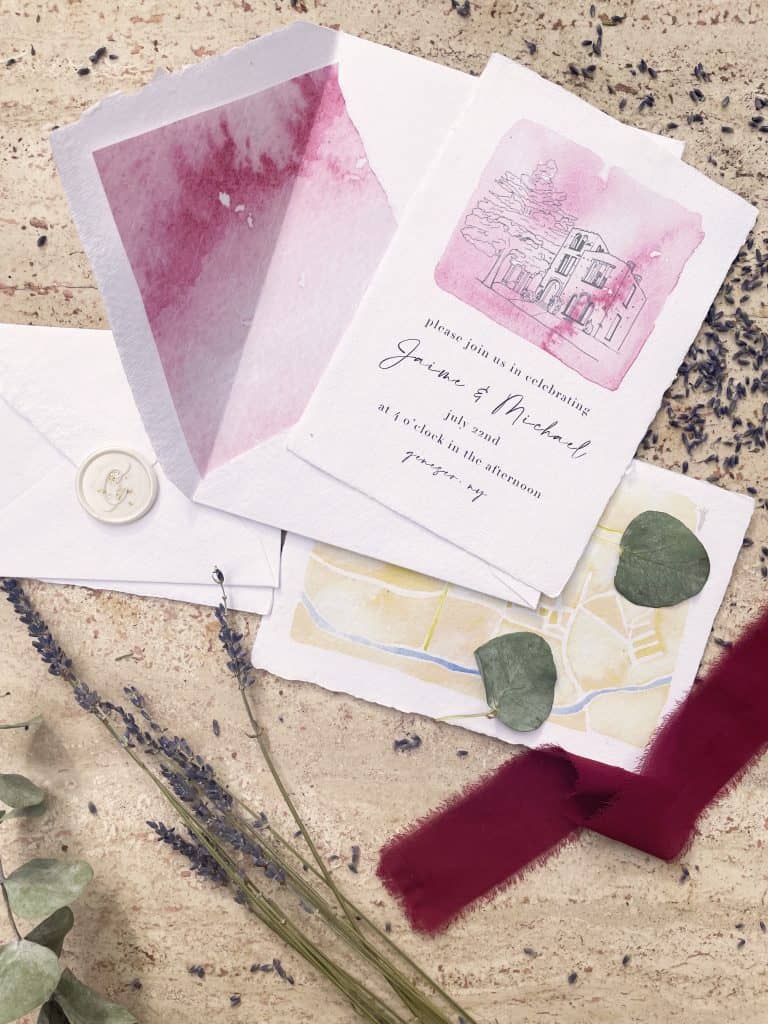
Here are five ways to make your invitations more expensive looking:
- use paper with a luxurious feel and heavier weight
- add texture with foil or embossing
- customize with vintage accessories
- print your addresses on your envelopes
- mail it with cohesive postage
Let’s walk through some real examples of exactly how to apply these tips.
How do you make fancy invitations?
First, get your design. You can find templates on Etsy, have a custom design illustrated, or order invitations through a popular printing service. We have a price comparison chart here of the most popular options for wedding stationery.
It might be tempting for you to design your own invitations. But if you don’t have professional design experience (we’re talking a Graphic Design degree) then you will be much better off choosing something from a designer. Designers know how to pick and combine fonts, create a cohesive design, properly space things and work with white space to develop a beautiful invitation. If you try to create something yourself without any experience, it will be noticeable to your guests.
The best part is that you don’t need to spend a fortune on a design in order to wow your guests. Great design has become a lot more accessible and affordable thanks to sites like Canva and Etsy. If you’re not sure where to print invites you get from places like Etsy and Canva, check out this article first.
Next, you’re going to pick your paper.
What paper is used for wedding invitations?
You want to choose a thicker weight paper. Paper thickness is measured by the weight of a ream (or 500 sheets of paper). Standard printer paper? About 20 lb. Card stock? About 80 lb. As the weight increases, so does the thickness of the paper. You might also see paper expressed in gsm (grams per square meter) weights instead of pounds. This is the metric equivalent. 1 lb is roughly 2.7 gsm.
Wedding invitations are typically printed on paper that is 80 lb – 200 lb or 200-500 gsm. 80 lb paper has the same thickness or weight as a greeting card. 140 lb paper has the same thickness or weight as Fine Art paper (like the kind you would paint watercolor on). 200 lb+ is going to be noticeably thicker paper and won’t bend as easily in your hand. Anything in this range is going to be great for wedding stationery.
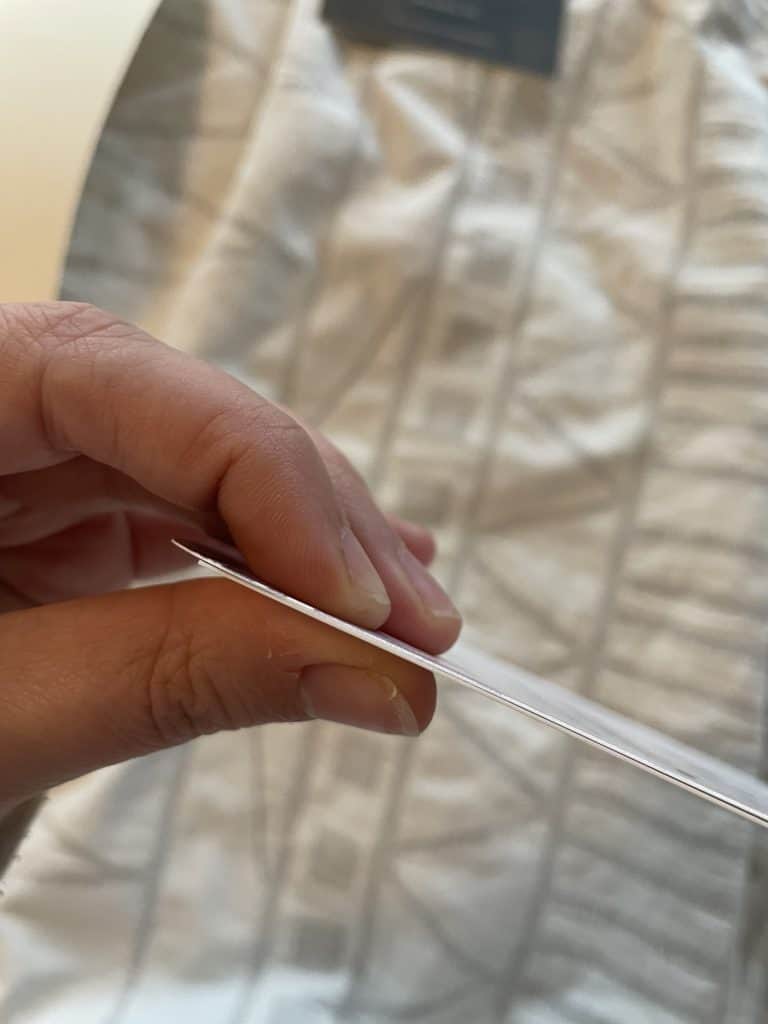
Up to a certain point, the thicker the paper, the more expensive your invitations will feel. Minted for example offers double thick paper that is 320 lb. It feels amazing at that higher thickness and definitely looks more expensive. It also is actually more expensive and will increase your invitation cost by 42%!
Any thicker than 300-400 lb and you’ll start to lose out on that luxury look. Now you’re drifting into cardboard or foam board thickness which says science project, not wedding.
Adding texture to your invitations
Another thing to consider is the texture of your paper. Add texture either with the paper itself by choosing an option that feels silky smooth like cotton or raised like Fine Art paper or with printing techniques such as letterpress, gold foil or embossing.
When shopping for invitations or paper to print them online, it can be hard to decode what the paper will look and feel like if you don’t know the vocabulary. I can help you decode the labeling.
Here are several options for paper and how they effect your impression of the design:
Glossy versus matte
A glossy finish is going to look shiny and smooth, like a photo. It’s also generally thinner than matte finishes.
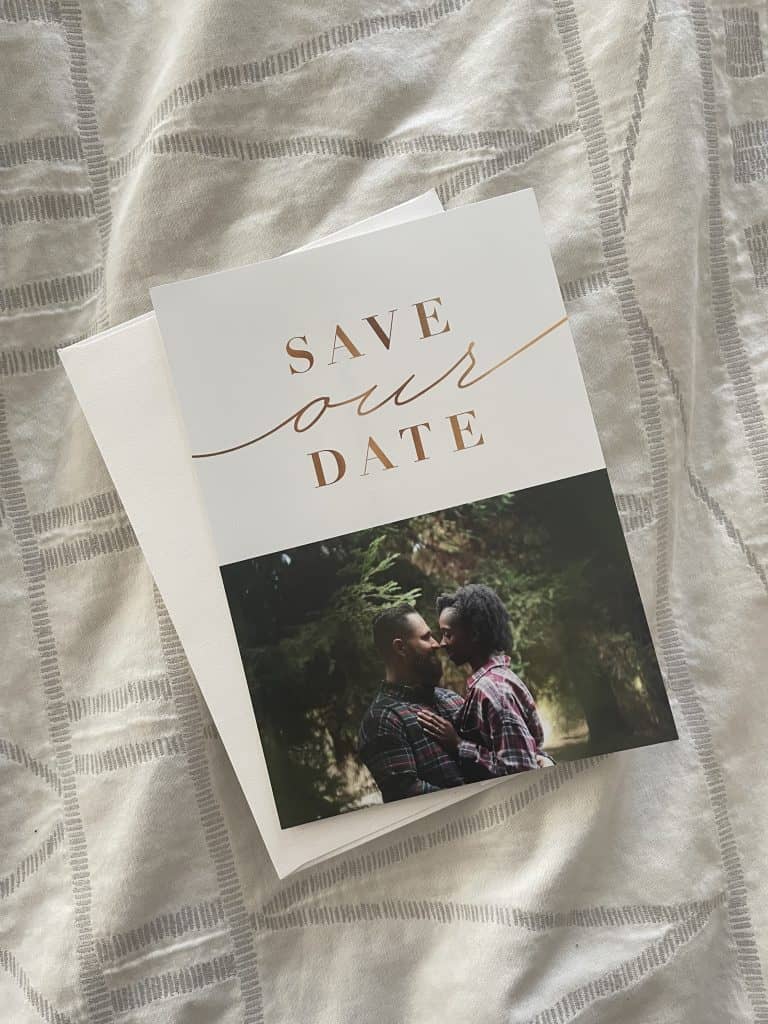
A completely smooth, glossy finish is going to remind you of an advertisement flyer or a DIY Christmas card. You might love this look if your save the date or invitation is a photo of you and your partner. But it won’t look expensive. This type of paper can be found at Walmart Photo or other photo printing companies.
A matte finish is also smooth but not shiny. This is more typical for wedding invitations, greeting cards, and other stationery.
Cold-pressed versus hot-pressed
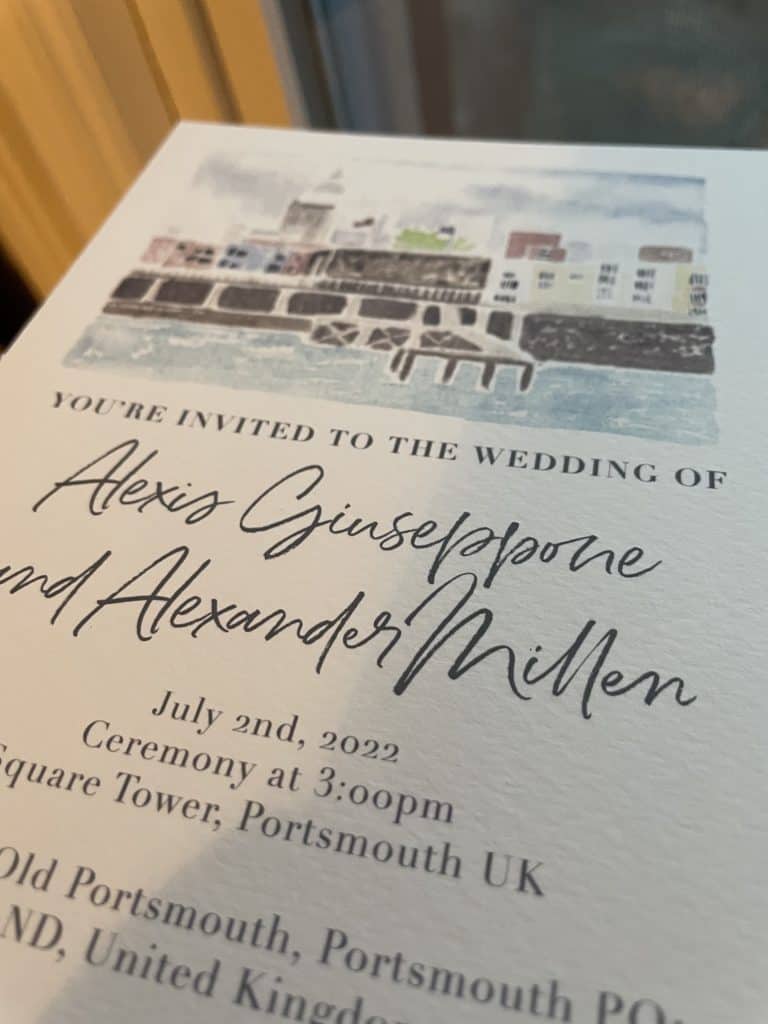
These terms are typically applied to fine art paper and refer to the process by which the paper is made. All you need to know is that cold-pressed paper has a rougher texture. It looks cratered if you will and is usually used for watercolor paintings. Hot-pressed paper is a lot smoother and doesn’t have as much texture.
If you’re looking to give your invitations an artistic or watercolor style, then you’ll want to choose a cold-pressed or watercolor textured paper.
Recycled
How recycled paper looks and feels is going to vary by company. It’s generally smooth, matte paper. It may be whiter in color or thinner than other options from the company.
Commercial versus handmade
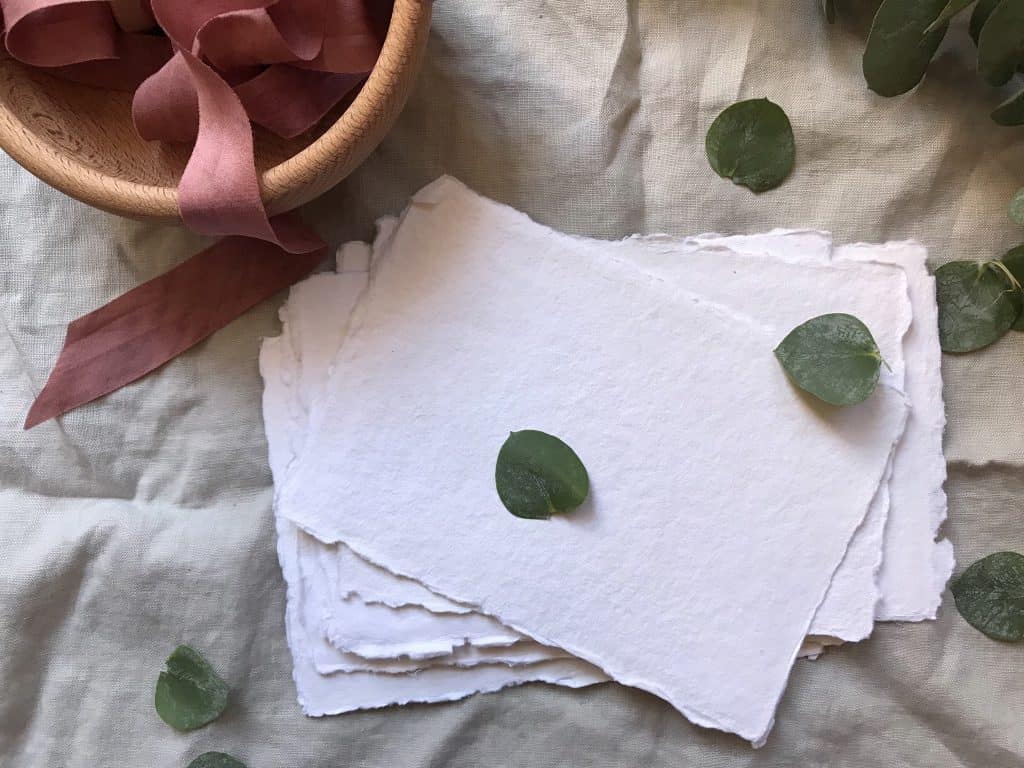
Commercial paper is made by a machine. It has perfectly straight edges, an even thickness and a uniform size. Handmade paper is made by, you guessed it, hand. It won’t be perfectly smooth, have perfect edges or even a perfect shape. Each sheet is unique and will look and feel slightly different.
A lot of couples looking for a Fine Art style invitation will love the look and feel of deckled edge handmade paper specifically. The deckled edge can be natural or hand torn. Meaning the paper is actually bound together in a way that leaves a natural rough edge or it is ripped to create that effect. It is definitely a more expensive paper option and printing on it is more costly as well.
Now that we’ve covered paper texture, let’s talk about other ways of adding texture to your paper through the printing process. Here’s how to decode several popular printing techniques:
Debossed versus embossed
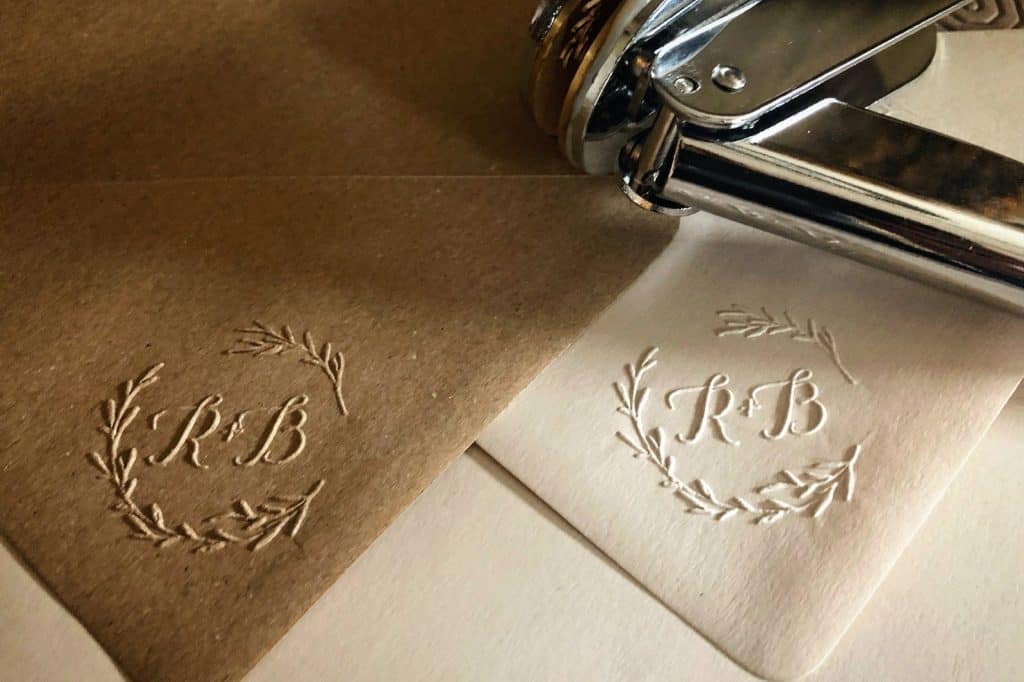
Debossed text or even imagery is when there’s an indentation into the paper for those elements. Embossed is the opposite where the text or imagery is raised. When you run your hand over the paper you’ll feel the subtle indentation or raised element. You can also see the subtle texture it creates.
Letterpress
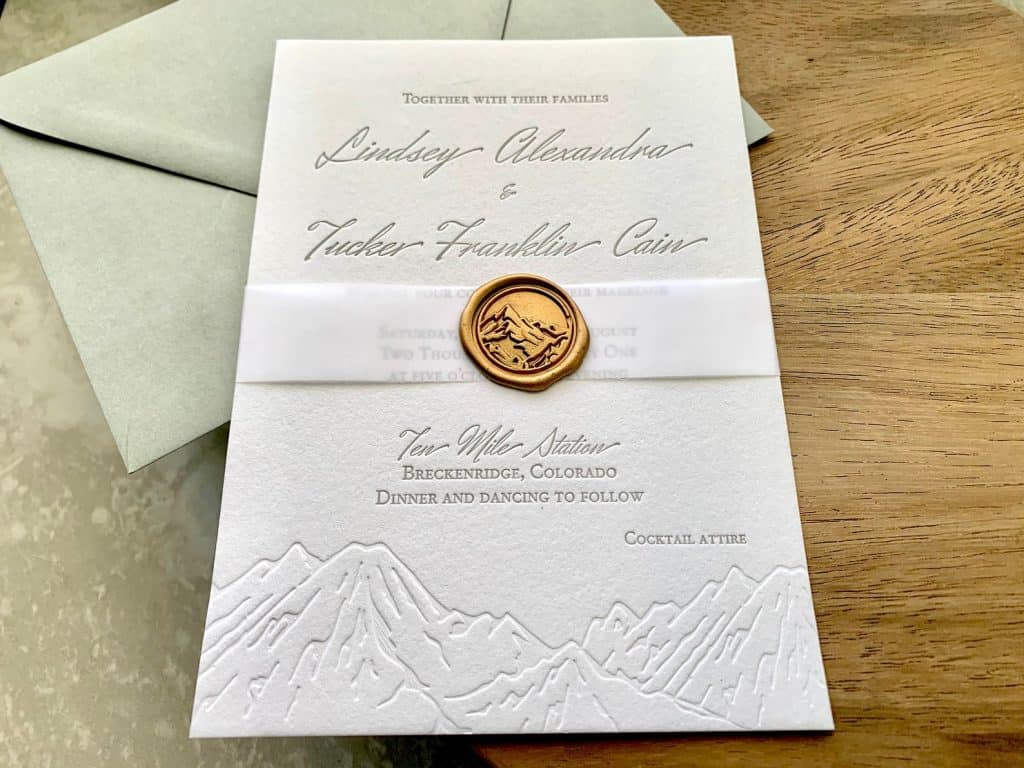
Letterpress is a specific printing process where the paper is fed into a machine that applies the ink with a metal plate and indents the paper in the process. It is a traditional print-making technique. Because it requires a special machine, that takes up a large amount of space, it can be more expensive to have something printed this way. But the results are usually extremely beautiful and give the invitations a vintage feel.
Gold foil
Gold foil is a metallic coating on text or other design elements. Sometimes it is actually made from gold flakes, but more typical it is just golden in color. It often is embossed gold foil, giving it a raised texture but not always. You’ll want to see a sample if you care about how much texture it creates because it varies from company to company.
You can also apply foil in other colors. Silver, rose gold, and copper are common. Companies may offer a wide variety of color foils.
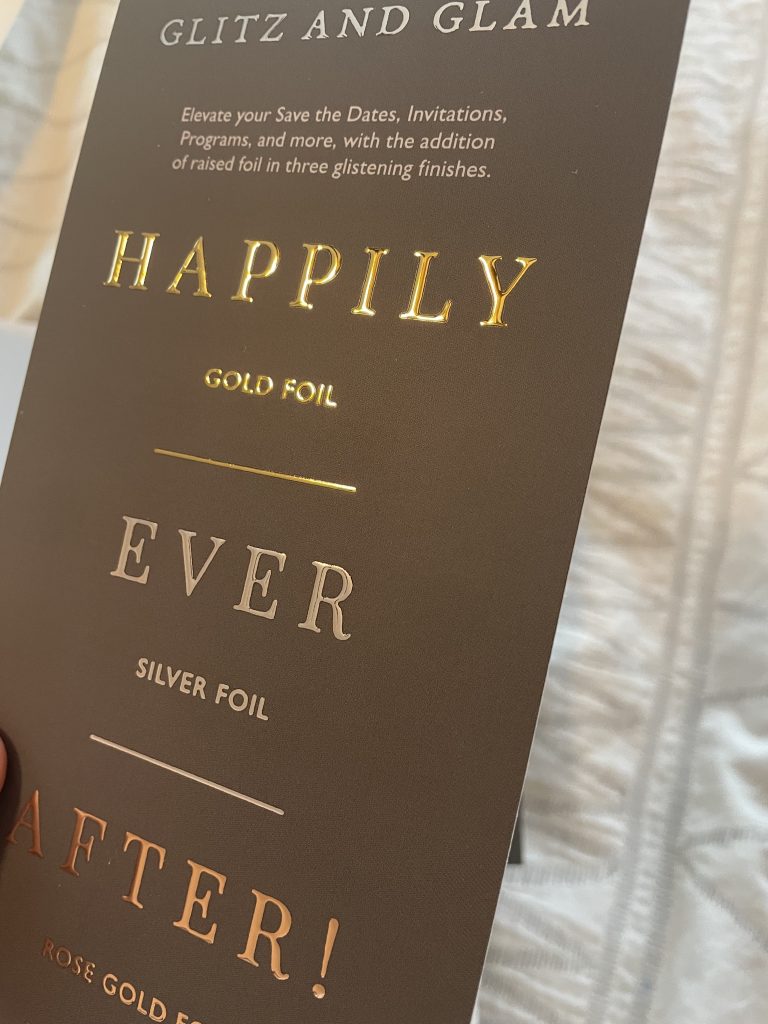
Still have no clue what I’m talking about? Get a sample! Here are the companies that offer free samples or what it costs to get a sample before you pay for the entire order.
| Wedding Invitation Company | Cost for a Sample |
| Minted | Free |
| Walmart Photo | $5 (order 1 + shipping) |
| Zazzle | $10 (order 1 + shipping) |
| Vista Print | Free |
| Moo | Free |
| Magnet Street | Free (and personalized!) |
| Shutterfly | Free (and personalized!) |
| Costco | $20 (min order 25) |
| Staples | $25 (min order 25) |
| FedEx Office | $20 (min order 20) |
| Canva | $5 |
| Amazon Prints | $25 (min order 25) |
Check out my full guide to the cheapest wedding invitations for a more thorough comparison on prices and offerings. Or if you’re just curious what I think about certain companies before you get a sample, check out my reviews of Zazzle, Minted, and Vista Print.
Phew! Now that we’ve covered texture and printing, let’s move on to accessories.
Adding accessories to your invitations
It’s easier than you think to add on different elements to your invitations to give them more customization and fun “unboxing” elements for your guests. Here are some of our favorite ideas and where to find them.
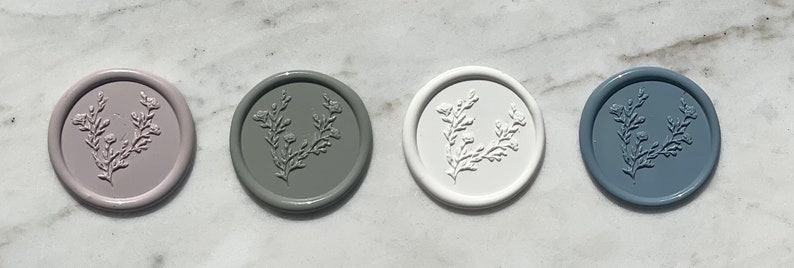
Wax Seals
Long long ago, you melted candle wax on the outside of an envelope to seal it. You had to literally break apart the wax to read the letter and the sender had a unique custom seal so it was difficult to tamper with a letter before it got to the recipient. Nowadays couples just like the look. And it definitely adds some drama to the opening experience.
Before you break out any matches you can buy pre-made wax seals that have an adhesive backing. Easy to apply just like a sticker! One note if you intend to put this on the outside of your envelope is to know that your post office may charge extra to hand cancel them because they can’t be machine cancelled.
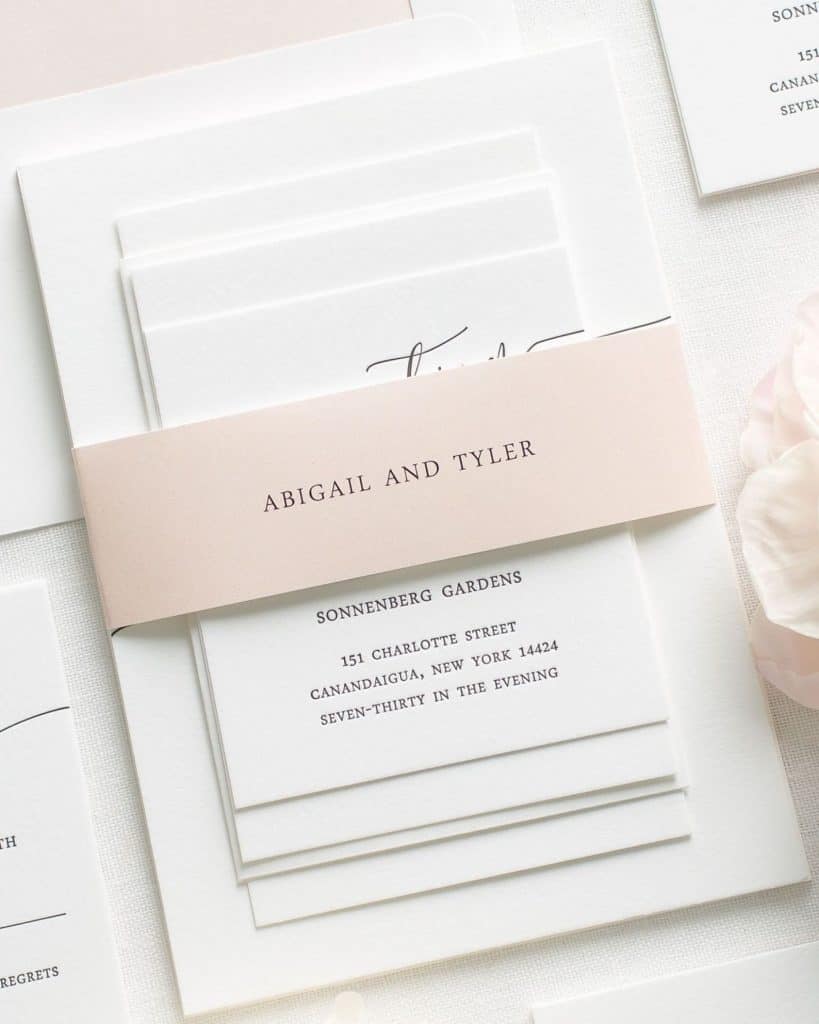
Belly Bands
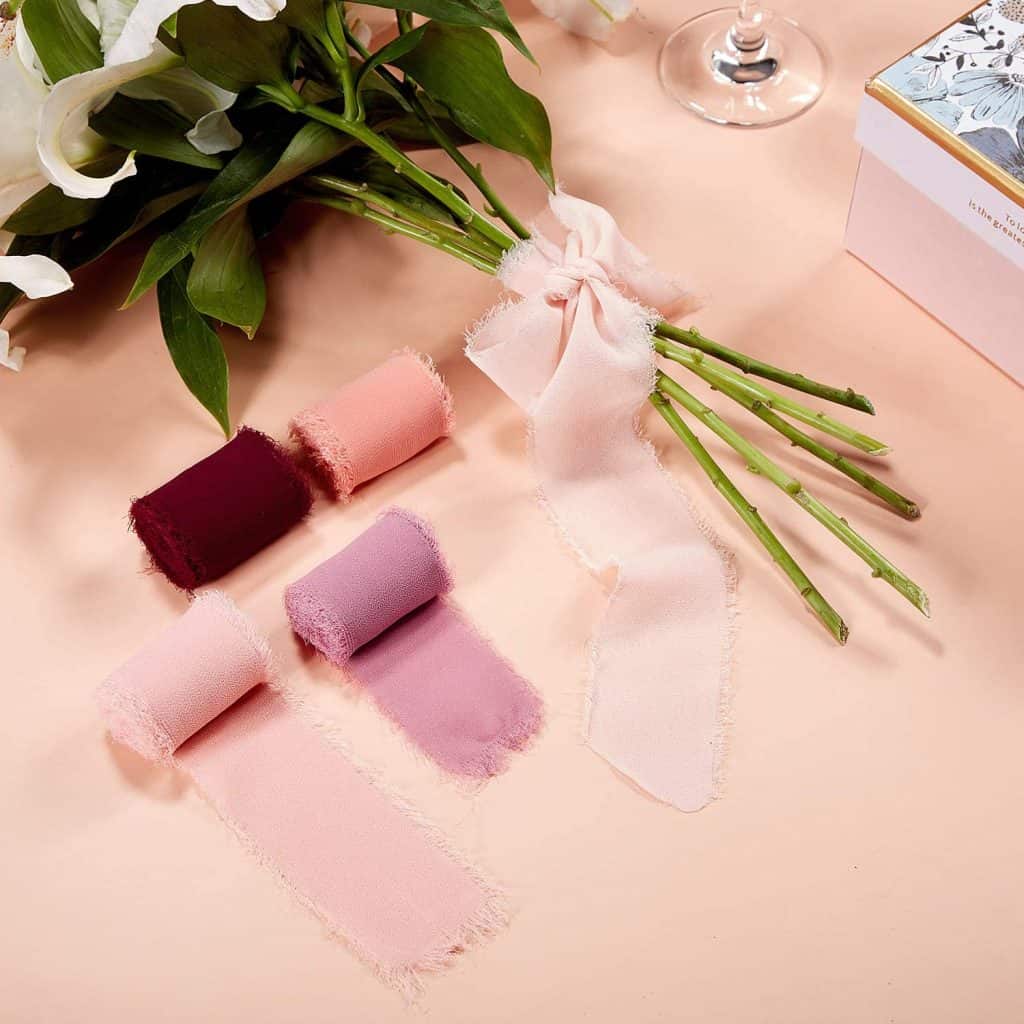
These bands of paper wrap around your invitation, rsvp card, rsvp envelope, and your details / reception card to hold everything together. You can make your own with colored cardstock or ribbon. You can also find some really nice custom options on Etsy.
Ribbon
Speaking of ribbon, we love these handmade 100% silk, naturally-dyed options we found on Etsy. I’ve personally used this shop’s ribbon and it is so luxurious.
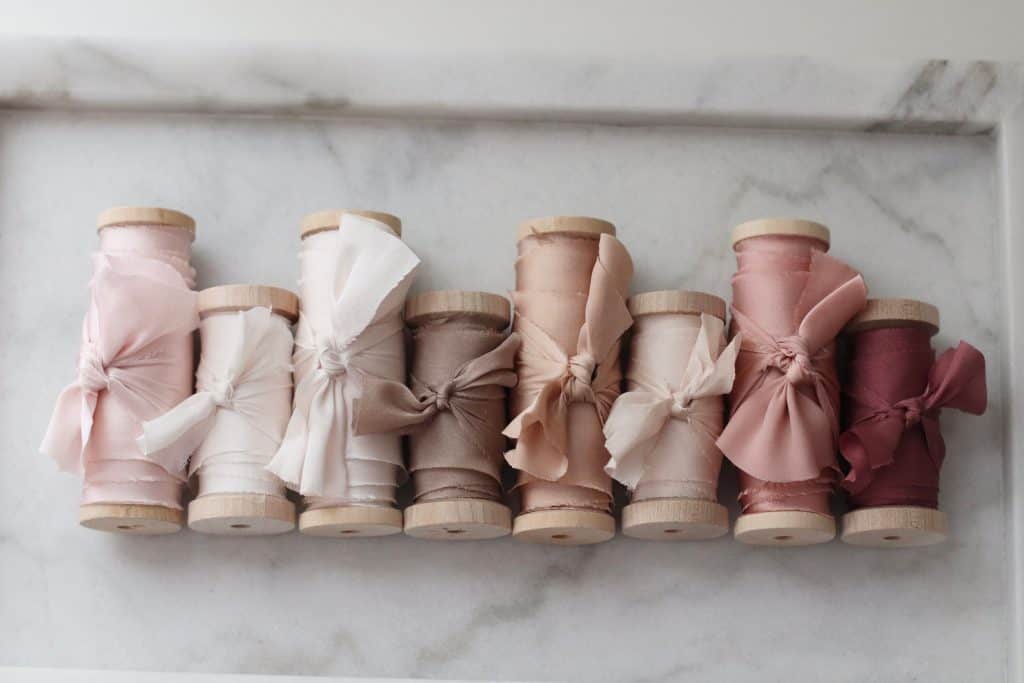
But you can also find some frayed ribbon on Amazon. I’ve also actually purchased this and it looks pretty nice for this purpose and price point.
Stickers
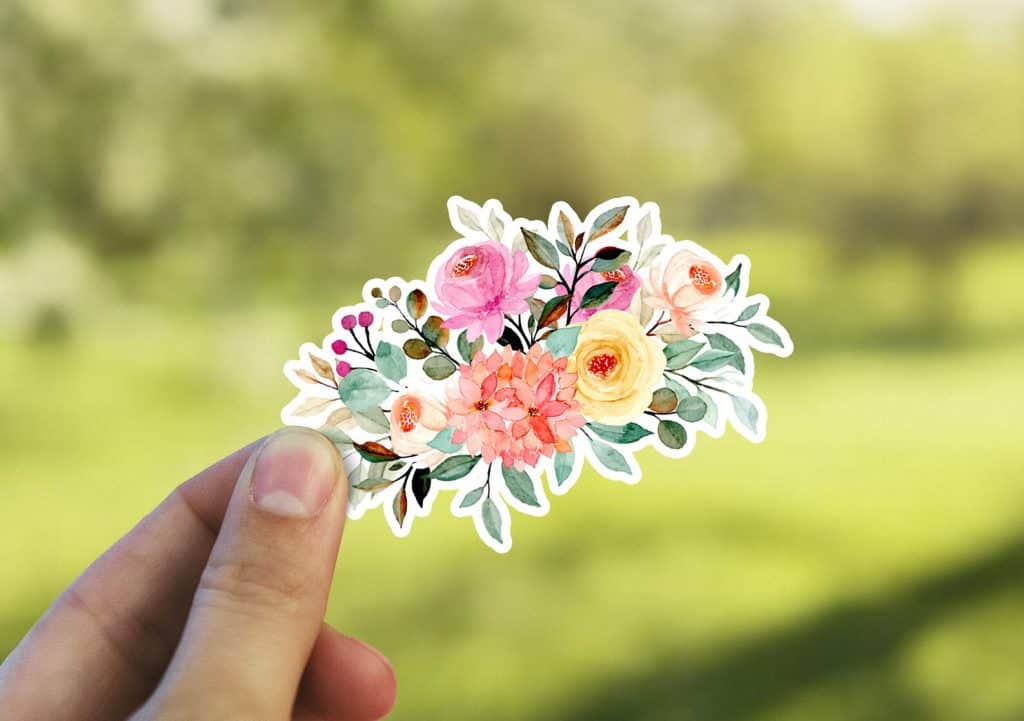
Looking for a more modern version of a wax seal? Try matching stickers! We love this beautiful floral option from Etsy.
Wraps and Jackets
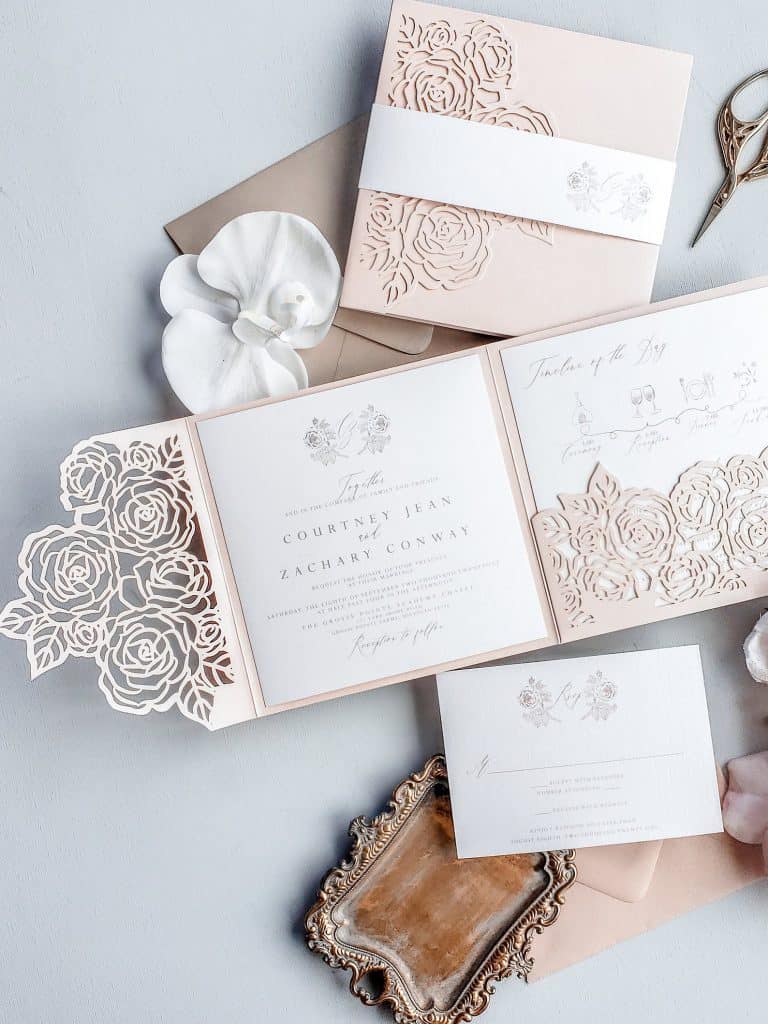
These are becoming increasingly popular for crafty couples. It’s another way to bundle all of your different stationery together. If you have a Cricut you can find a template to create your own. Or you can find them on Etsy in every imaginable color and design.
Special Envelopes
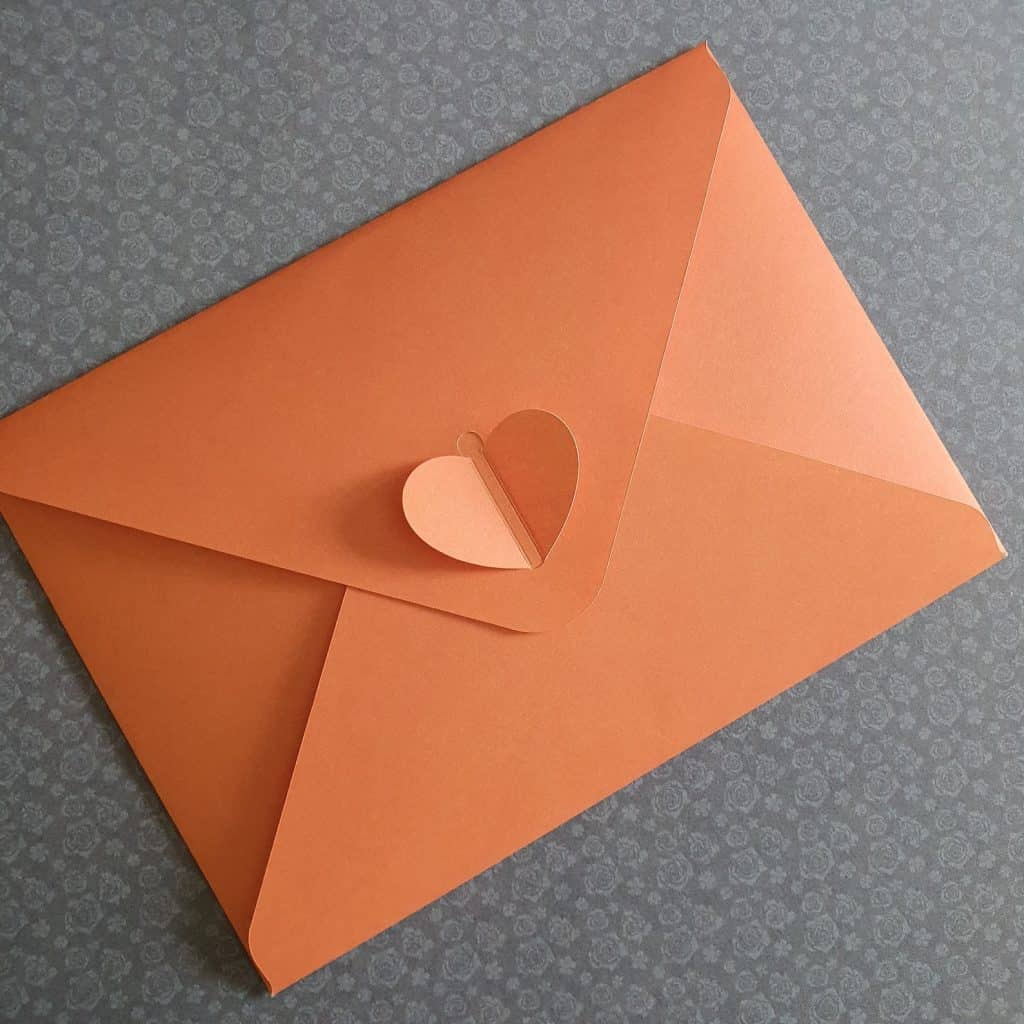
White is traditional but we love a good bold colored envelope or a handmade one to elevate the look of your invitations. It’s an easy and not that expensive way to let your guests know this piece of mail is something special.
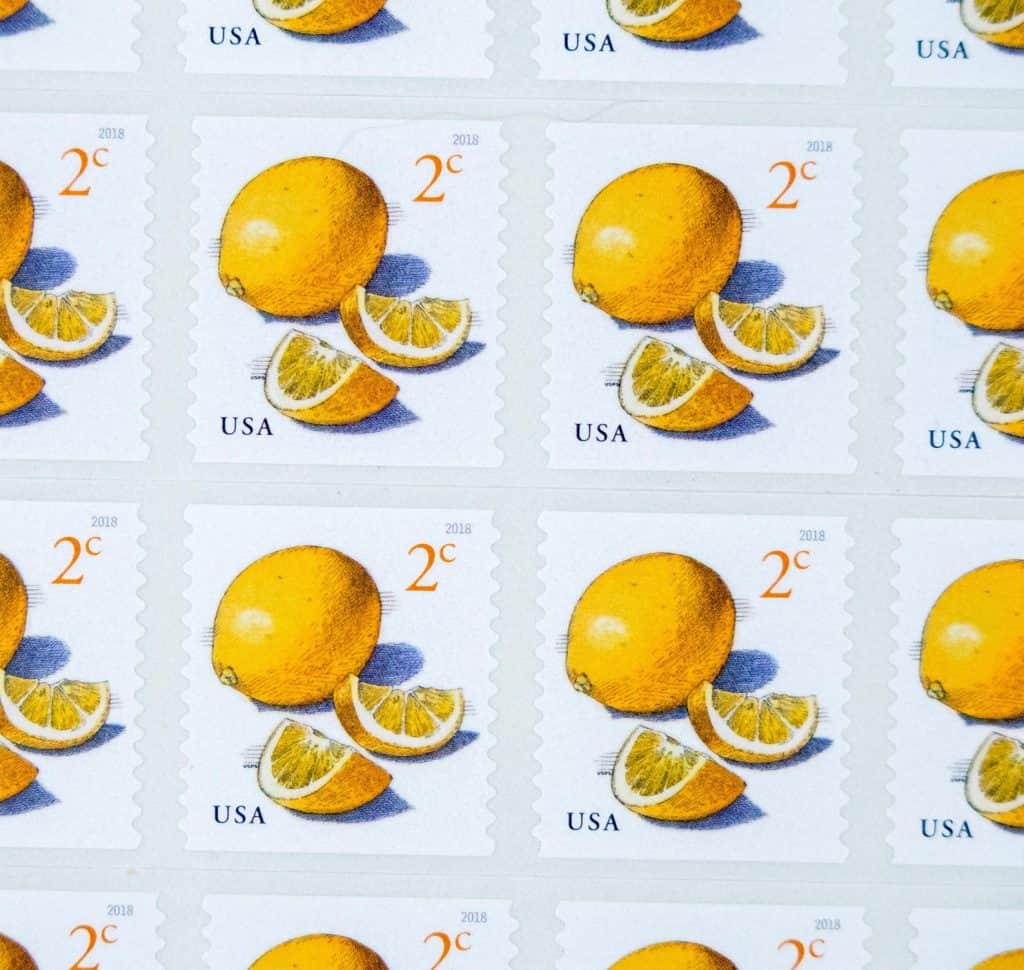
Vintage Stamps
You’ve probably seen the envelopes decorated with multiple fancy-looking stamps floating around on Instagram or Pinterest. You don’t need a stationery designer to find them. You can source your own on Etsy.
Addressing
Now if you’re of the mind that you don’t want to spend a second thought on the envelope that’s going to go in the trash, I hear you! But your messy handwriting is not going to look expensive and that’s what this post is about. The easiest and cheapest way to elevate the look is just to print the addresses on them using your home printer. Or you can find a company that offers free address printing.
Here’s a chart of which companies offer address printing for free and which ones don’t:
| Wedding Invitation Company | Price To Address Envelopes |
| Minted | Free |
| Walmart Photo | Free |
| Zazzle | Not available |
| Vista Print | Not available |
| Moo | Not available |
| Magnet Street | $1.16 per envelope |
| Shutterfly | Free |
| Costco | Free |
| Staples | Not available |
| FedEx Office | Not available |
| Canva | Not available |
| Amazon Prints | Not available |
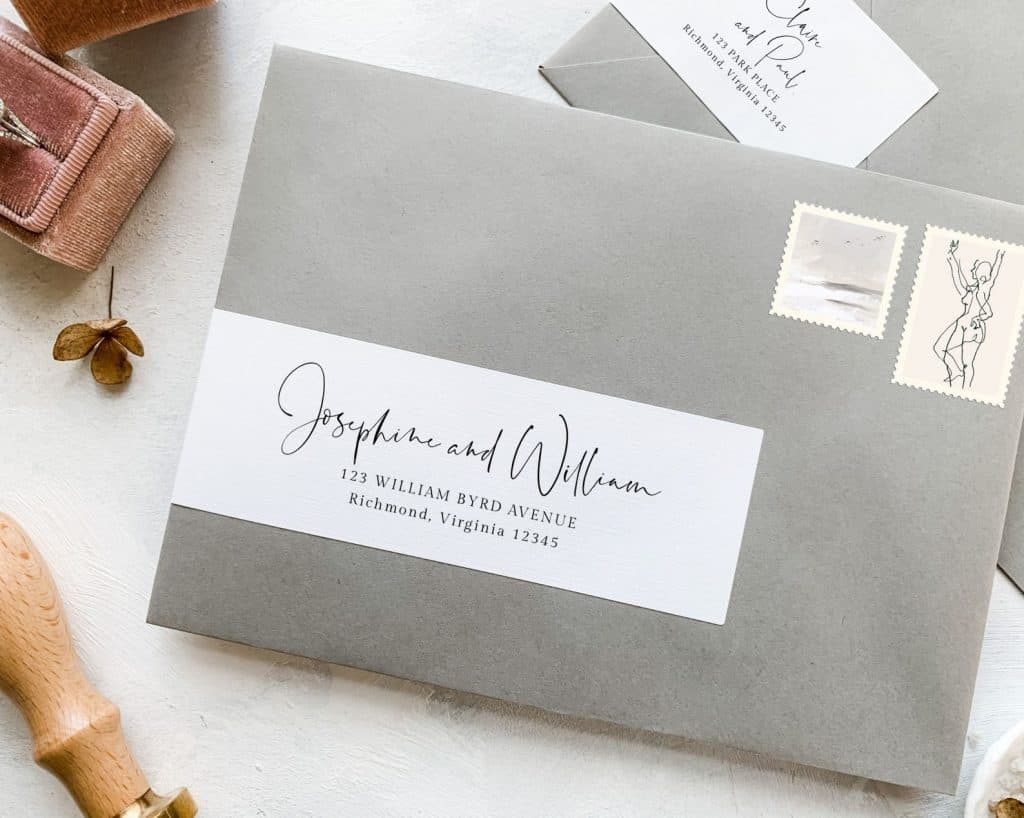
Is it OK to use printed labels on wedding invitations?
Martha Stewart says “no,” but I say “yes!” You can use printed labels on invitations and still have it look elegant, personalized, and neat. Here are some addressing labels that look way better than your handwriting.
Now that you know how to elevate your invitations, give it a shot! Pick a few elements that you love and make it your own.
You can check out my free budget guide if you sign up for my newsletter. It automatically calculates what you should spend where based on your budget and guest count and helps you stay on track. It’s like the fairy godmother of numbers.
